|
I try new things.
I've always been what I would call a Trailblazing Pioneer. So, yeah..I combined two terms because I didn't fall neatly into one category or the other. For those of you that may not know what those terms refer to, I think the late Michael Armstrong explains these roles we assume in school transformation, and the "trail" to success, the best. Thankfully, someone captured this for posterity. (this explanation starts around 8:37 and ends around 13:30 - the video below should start at that spot..) As a result of being a trailblazing pioneer, I create directions for others. A LOT of directions. ...pardon me: tutorials. Back when I first began in an instructional technology role at the school level, I would often find the teachers who were not the early adopters, settlers if you watched that video above) to test my steps for clarity. Those early tutorials took the form of a document with arrows and pictures. So 2007. I've also made tutorial videos using various screencasting tools. I mean, they do the job, but they sometimes seem....flat. So recently, I helped a friend with some rubrics she created. She envisioned providing personalized feedback for students in her courses at Rutgers University. She also knew how much I loved the Google Add-on, Autocrat. So we teamed up to create a way to generate meaningful feedback for her students. When the semester was over, I was asked to make a tutorial for setting up Autocrat with this purpose: providing personalized feedback for students in order to share this process with other educators. As there are many layers to making this magic happen, I knew a simple screencast would not do this justice. I began to explore two other creation tools that would be useful for this type of task and found two: genial.ly and Iorad. Each of these creates a very different product, but I thought they complemented each other well. The first I used was genial.ly. I feel as though I have just sipped the genial.ly Kool-Aid as this tool can do waaaaay more than the Thinglink-esque image I created below to explain the importance of the tags needed for part of the feedback generation process. Hover over the green circled objects in the image below to see what I'm talking about. The other tool, iorad, makes more detailed step-by-step directions. The ones below are part of the feedback setup. Click on the start button and follow the prompts - be sure to read the text as well. As the viewer, you also have the option to view it as a step by step document. I created ONE tutorial that can be viewed in TWO different ways. And I must add that it can also READ THE TUTORIAL ALOUD!!!! Y'all, I am enamored with this tool. Here's an interactive tutorial for the visual learnersI am still working on the Autocrat set up directions for this specific task. But I can already say that iorad is a fast favorite - I've made other tutorials for scheduling tweets and looking up CEUs in our district staff portal...it is just super user friendly! Another beautiful thing is that these creations embed perfectly into Google Sites (and blogs). This means all of the tutorials can live together, in order, online. I'll share that website once it is done. There are still some pieces to assemble.
0 Comments
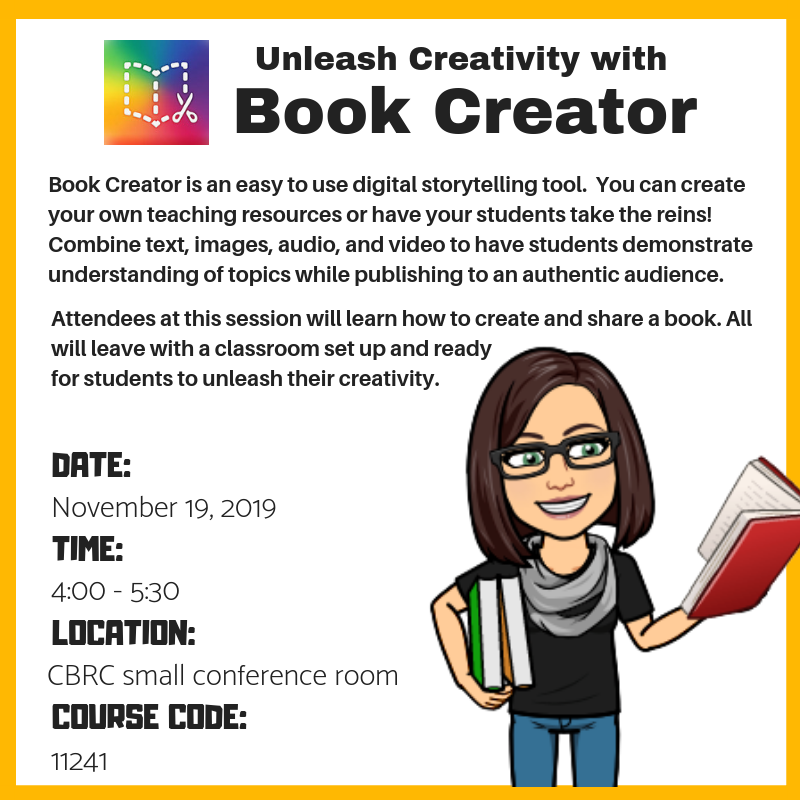
One of my goals this year is to move teachers and students from consuming content to creating it! I have been leading professional learning on creating 360° images for a few years now. I began with StorySpheres and its simple, straightforward interface, then progressed to RoundMe which allowed additional content layers. Then Google gave us Tour Creator. Now, each of these three tools does basically the same thing, but two things set Google's version apart from the others. 1) Google integration: All students in our district, K-12, have a Google account (email is only active 6-12 with parent consent) so using this with students is a breeze. It also makes the teacher creation of teaching materials easy. That leads me to my next points. 2) Tons of 360 images to choose from: When you open Tour Creator, you are given a map and a search bar - type in ANY location and drag the peg man to any indicator of 360° images on the map. Can't find just the right image? No problem! You can use Google Street View or you phone's camera to capture your own 360° images! Just upload them in this creation process and PRESTO! A customized learning experience can be created! I used this to upload 360° images from our community or from my travels which aren't extensive, but I am a history nerd lucky enough to live in a history rich town! 3) The creation LOOKS just like a Google Expedition: This means that the teacher can be the guide and take students on custom expeditions. Often, teachers say that they have to use two or three different Expeditions in order to meet their objectives for the lesson. Who has time for that?! Using the collection of images already crowd-sourced, you can make one complete tour with everything you need to share with learners AND it will be saved for use/modification later. The teachers that attended this training left ready to create their own...and have students do the same! Since this month seemed to be all about creating content, I also led professional learning this month on Book Creator - NOT the app. For years, I only heard about the app. Most schools used the free version. While it was within their budget, it was very limiting. Most schools do not have the money to spend on an app for each device for a tool that isn't used every day. I was pleased to learn that Book Creator online allowed for an affordable and easy to use option! And by affordable, I mean free. By easy to use, I was impressed that it also works within Safari on an iPad. Then, the option to have students join and create with a QR code? My heart was won!
Our district uses Reading and Writing Fundamentals and we are always looking for innovative ways for our young authors to share their work with an authentic audience. This tool enables that - the teacher manages the sharing! Participants in that workshop loved the versatility and ease of use with all of the features available in the free version. (Their basic not free version is VERY affordable for what you get, too.) We even went over logging out and how to manage using this webtool in a shared device environment. This is often overlooked as teachers hurriedly collect devices at the end of class. We discussed how this small action can - and should - become a habit. The participants left both of these sessions with something to take back and share and eager to use these tools with students. I can't wait to see what THEY create! |
AuthorJeannie Timken 
Archives
March 2023
|

 RSS Feed
